DIY Circle Ornaments Kids Craft Tools: Scissors✁ Hot glue gun (done by parent) Hole puncher or use needle (done by parent) Glue for accessories Accessories= ribbons, gems, beads Paint, markers, other drawing utensils Cup for drawing circle Thin Cardboard 1. Create your circles and rectangle to make the top of the ornament: 2. I took about 1 inch to about 4 inches in length and folded it to create the top part of the ornament. 3. punch a hole in the top part of your ornament. With either a hole puncher or create a hole with needle. 4. Hot glue your top piece together, Then keeping the undesirable part of cardboard pieces in the inside, hot glue the two circles with the top in the middle of the two circle pieces. 5. Allow you and your child to use the imagination and go to town. Add the string to the top and other extras if you like! Place them on a tree or wreath, or send them out to family who will enjoy! Leave a comment if you enjoyed creating these! ...
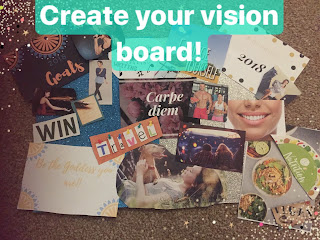
Tips for creating a vision board for 2018 Well, we are now into the new year of 2018. I am super excited about this year and the goals I plan to crush this year!! I have been thinking long and hard about creating a vision board. So I decided I would create it with you and share my tips as I go 😁! Plus it's a great way to send out to the universe what you want to create in your life. First, let's get our pictures sorted away so it is easy to lay it all out..... Best to turn on some upbeat music to get you in the groove!! I got the magazines around the house to start using. Cause let's be honest there is a one time adventure of looking at them and then they hide away forever. Ok so you got everything from your magazines cut out, but maybe you have a few pics you need but there isn't any pics in the mags you got. Not to worry we can do some image searches on google and print those bad boys out. Now its almost there, but let us add a ...